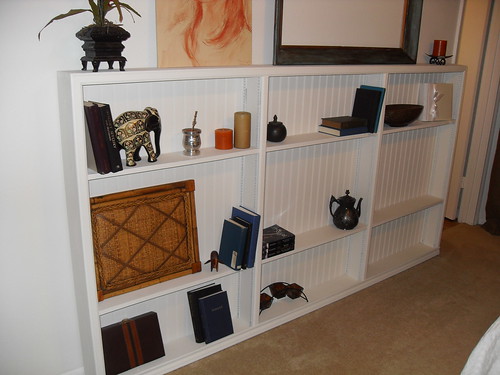
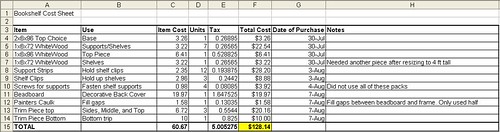
Alright, so my wife's most recent request was a bookshelf unit for the bedroom. She wanted it to be quite shallow but very wide and somewhat tall (80"x50"x6"). And she wanted it to have more detail than any of my previous projects (trim and beadboard). I'll admit that the idea of putting trim and possibly a cap (I opted against a cap) on the bookshelves was a bit daunting. I hadn't done any work like that yet. Still I drew up my plans, visited the hardware store and got to work. Below is the finished project and below that are the details by which I came to the finished project. At the very bottom is the cost sheet for the project (the cost for materials was about $125).
Finito!
The Process:
1. I always start out a project with some plans. I use the plans to help me figure out how much material I'll need and it helps me fix problems on paper before I get started and run into real world problems.
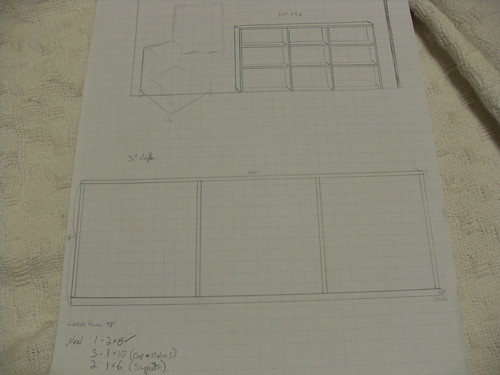
However, as they say, even the best laid plans...you may note that in my plans I have the bookshelf measure out to 36" tall. I even lovingly and meticulously built out the frame to that spec...and then my wife came home and says "can you make it taller?". Sigh. To be fair we had talked about it being taller but I thought that the 36" would be tall enough...it wasn't. I deconstructed that 36" tall frame and cut down the supports slightly to turn them into shelves.
In addition, I had originally planned on making the piece 100" wide and 5" deep but because the standard cuts of lumber available at the big box hardware store came in 6", I expanded the depth to 6"to avoid a lot of extra cutting and I also shortened the width to 96" (8 feet) to utilize standard cut lumber.
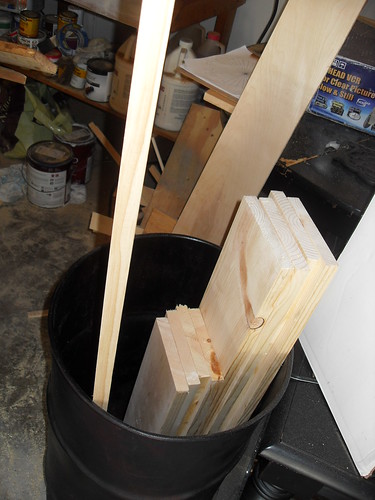
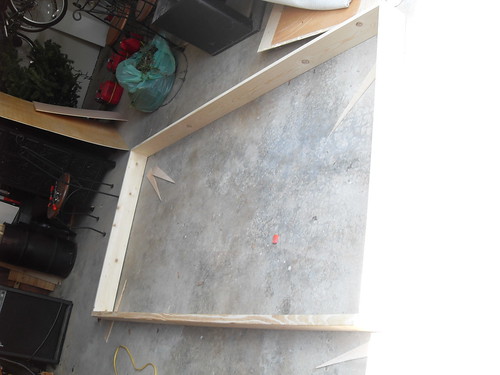
2. I set out to the hardware store to get the parts for the frame. Before I bought the beadboard and trim pieces I wanted to be certain of the actual dimensions of the frame. Sometimes in working on a project a piece will shrink or grow depending on needs or accidents (accidents more than needs). In this case I'm glad I waited because I ended up making the piece 14" taller than I had originally set out (per my wife's request). For the sake of not making this blog post any larger than it is already going to be, I'll continue as if I had started out the project with the final dimensions. I purchased a 2x6x96 piece of Whitewood for the base (this actually turned out to be 1 3/4" thick. I've been told that the thickness of these boards typically runs below the labeled size), one piece of 1x6x96 Whitewood for the top piece and seven pieces of 1x6x72 Whitewood to be cut down for the six shelves.
 |
| Some of the Whitewood for the Project |
|
|
|
|
3. When I got back to my garage with all of the pieces I used a sander to lightly sand down everything (this was to make it easier to paint once assembled). My last bookshelf project was stained and I neglected to sand before assembly. Sanding a project once it is put together is miserable work...take it from me.

4. Once my pieces were sanded down I cut four pieces of my 1x6x72 down to 50" using a circular saw. The skill saw leaves plenty of room for human error though so I leveled all four of the pieces to each other using my Dremmel's sander bit and my power sander as well. It was important to me to be sure that the bookshelf was very level due to its width. A small change through the width could result in a big difference from one side to the other. Unfortunately I don't have a table saw which might have yielded a more precise cut to start with and might have helped me avoid the extra step of leveling all of the pieces out.
5. Now that I had all of my pieces sized the way I wanted them I began to assemble the frame. I used 2" drywall screws. I've used these on most of my woodworking projects and they hold really well. I'm sure a wood screw or alternative joinery technique would be completely fine as well.
I lined up one piece at a time and drilled pilot holes to the depth of the screw through the base piece and into the support while manually keeping in place to assure the frame stayed true. Each board got two screws for each side (top and bottom). I placed the screws toward the end of either side of the board.
I had originally intended to recess the screws, putty them in, and paint them but I liked the look of the screws actually. I wanted the piece to look handmade, not Ikea and I thought the screws were fine. Another thing of note is that I did not use any wood glue in this project. Typically I'll put Gorilla Glue at the wood connections. I was cautious because my last bookshelf project was stained and the glue blocked the stain at the seams. In hindsight glue would have been fine because I would have been able to wipe away excess and paint over any bleed-out. However, the piece is still solidly held together by screws, heavy duty staples, finishing nails and paint.
 |
| The Frame Shell |
|
6. After some discussion it was determined that each of the three sections would be the same size, so I placed the middle two supports equidistant from each other and the edge supports.
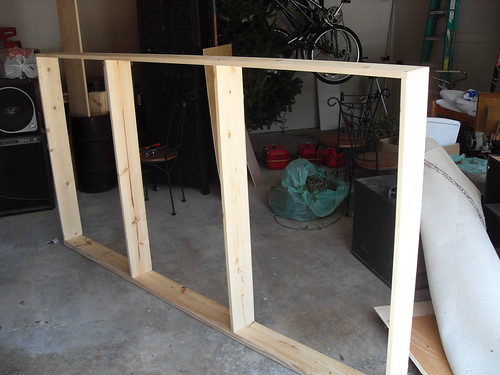 |
| Ignore all the crap in the background |
|
|
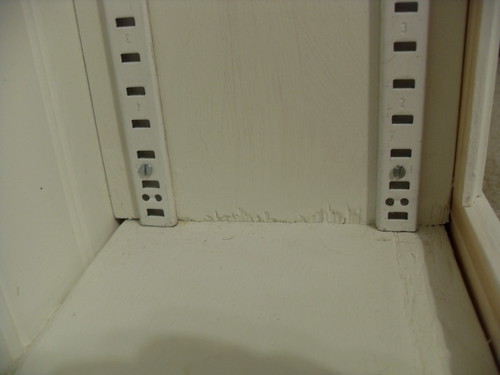
7. It was decided that the shelves should be the same height all the way across the bookshelf unit which changed how I normally attach bookshelves. Usually I just screw 'em in from either side the same way I attached the frame pieces but this couldn't be done since one side would cover up the other and I wouldn't be able to screw them in. I could have used some other joinery techniques but instead I went for the adjustable rack method. But before I could install the racks, and subsequently add the helves, the frame had to be painted. We wanted the bookshelf to match the wall so we used the same paint we used to paint the wall. I didn't include the cost of paint for this project as that is a big variable depending on what type of paint or stain you use or if you use any paint at all (also I can't remember how much that paint was...heh). I can say, though, that this project took about a third of a gallon of paint. That covered the two coats it needed.
 |
| In mid-paint. The blazing Sun made the wait for drying next to nill. |
|
8. Next I fastened the shelf support rails. I needed twelve in total. They ended up being about 3/4" too tall so I used a hacksaw to cut them down to size. We started out painting them but the paint was exactly the same color as they came so I installed them as is.I moved the rails slightly more inside for the middle cubby so that I wouldn't screw into the screws for the rails on the other side of the support.
9. I cut the shelves out of the remaining pieces of already sanded 1x6x72, painted them and set them aside.
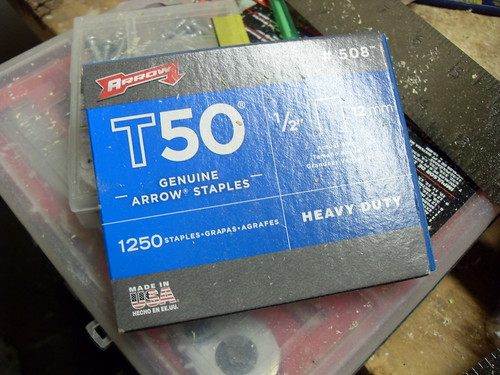
10. Next I went back to the hardware store and bought the trim and beadboard. I painted the beadboard and fastened one half first, being certain that the lines in the beadboard were parallel to the frame. I used heavy duty staples in my staple gun to be sure that it was fastened well since the panel didn't actually rest on the floor. The height of the piece was just such that it covered the inside of the frame. I stapled it to all of the vertical supports using a LOT of staples (extra staples since I could fasten to top and bottom frame pieces). The staples were probably placed about 3/4 inch away from each other.
When I placed the second half in, it fit like a glove. Only when you look very closely can you tell that the backing is actually two pieces.
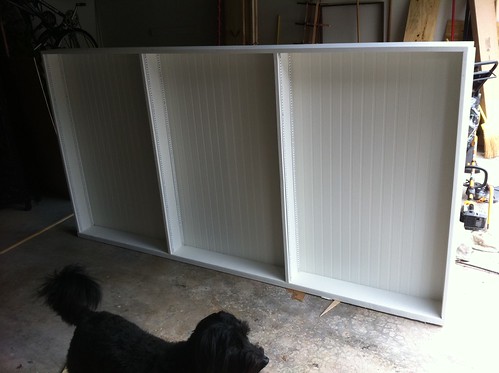 |
| After the Beadboad is placed but before the trim. Also pictured: Paxton the Wonder Dog! |
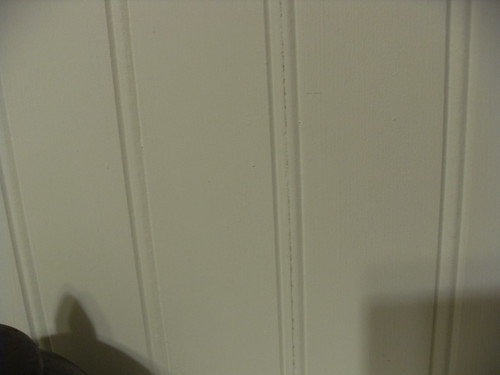 |
| The Seam |
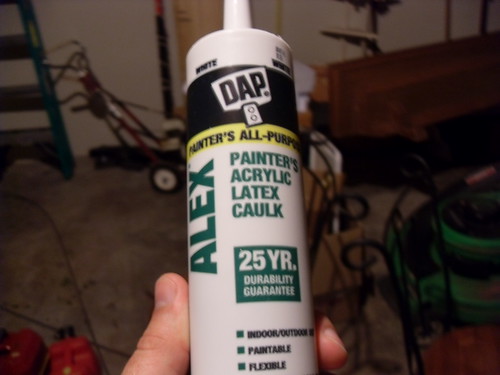
There actually were a few places where there was a small gap between the backing and the frame at the top and bottom. I used a painters caulk to fill the spaces and it looked fine. Ideally though, there would be no gap at all but, in the interest in saving some cash, I used just that one large sheet of beadboard.
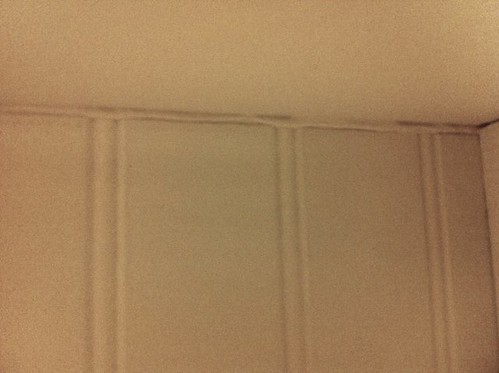 |
| Painter's Caulk Fill-In |
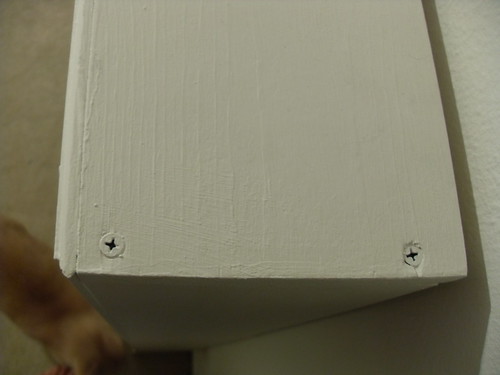
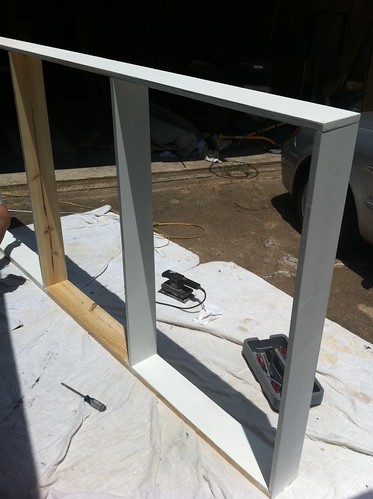
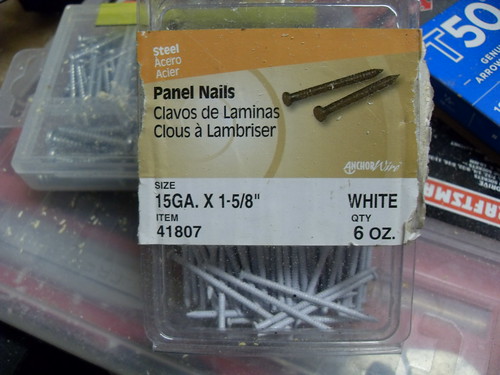
11. After the beadboard was placed, I worked on the trim. I mitered the corners for the top piece and I cut the bottom piece to size flat on the ends. I mitered the tops of the two end pieces of trim to fit the top piece and cut the two middle pieces of trim straight across to fit the space between top and bottom trim. I fastened the painted trim to the frame using white finishing nails. i actually made pilot holes for the finishing nails also, so that I didn't accidentally split the wood. I made the pilot whole pretty small though so that the nails would still hold fast.
Editors Note: I actually used panel nails for this but have since adopted the use of actual
finishing nails which have a small head and use a driver to recess them and then cover with wood putty. A preferable technique to showing the nail heads as pictured below.
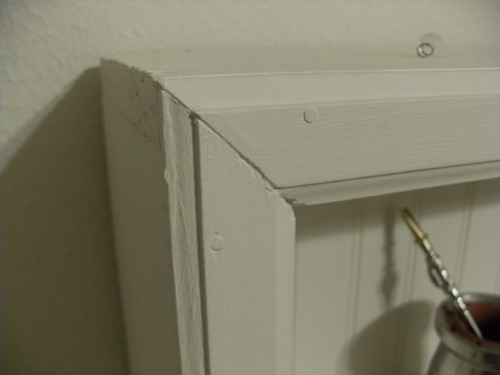 |
| Mitered Trim Piece and Finishing Nails |
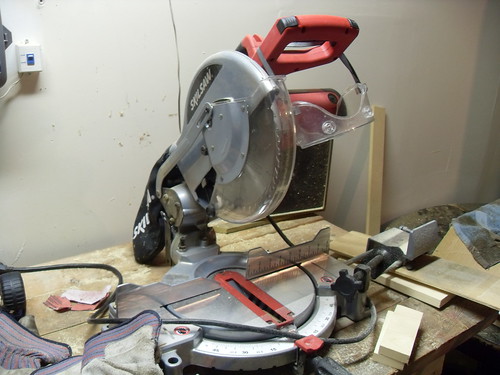 |
| The Miter Saw |
|
|
12. That was it. Once the trim and backing were in I set the shelves on their rack clips and finito!
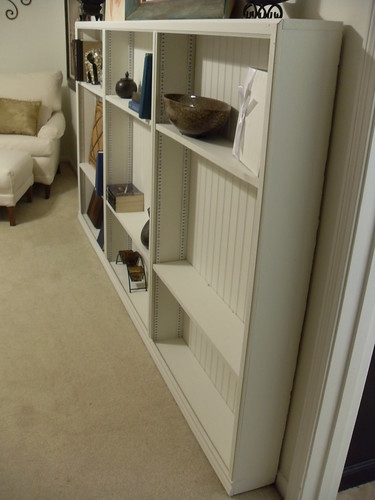 |
| Another Pic of Finished Product from Different Angle |
|
13. As promised, the cost sheet. Click on to see in detail.
****And thus ends the longest blog post in blog history. I'm sure there are things I left out so I'm glad to answer any questions about this project. If this post hadn't been so long, I'd have put some of my follies too but perhaps in another post down the road.
No comments:
Post a Comment